Achieve Perfect Pan-Seared Scallops: Golden Crust Every Time
Imagine a dish that effortlessly marries gourmet elegance with weeknight simplicity. That's the magic of perfectly pan-seared scallops. When executed correctly, these delicate morsels boast a succulent, tender interior encased in a gloriously crisp, golden-brown crust – an irresistible combination that rivals any restaurant creation. While they may seem intimidating, mastering the art of searing scallops is surprisingly achievable with a few critical techniques.
Whether you're looking to impress guests at a celebratory dinner or simply craving a quick, luxurious meal, pan-seared scallops deliver every time. Forget rubbery, pale scallops; we're here to guide you through the secrets to achieving that coveted golden crust and buttery tenderness that makes Gordon Ramsay's Pan-Seared Scallops: Crispy & Buttery so renowned.
The Foundation: Selecting and Prepping Your Scallops
Dry-Packed vs. Wet-Packed: A Critical Choice
The journey to perfect pan-seared scallops begins long before they hit the hot pan – it starts with selection. This is perhaps the single most crucial decision you'll make:
- Dry-Packed Scallops: These are your gold standard. They are harvested and immediately frozen or sold fresh without any chemical treatment. They have a natural, sweet flavor and, most importantly for searing, they contain minimal excess water. This allows them to develop that beautiful, deep golden crust.
- Wet-Packed Scallops: Steer clear of these if a perfect sear is your goal. Wet-packed scallops are typically treated with sodium tripolyphosphate (STP), a preservative that causes them to absorb water. While this makes them appear plumper and heavier (and thus, more expensive per pound of actual scallop), the added moisture prevents proper browning. Instead of searing, they'll steam in the pan, resulting in a pale, often rubbery texture. Always ask your fishmonger for "dry-packed" sea scallops.
The Golden Rule of Drying
Even dry-packed scallops contain surface moisture, and moisture is the enemy of a crisp crust. When water hits a hot pan, it creates steam, dropping the pan's temperature and preventing the Maillard reaction (the chemical process responsible for browning and flavor development). Therefore, thoroughly drying your scallops is non-negotiable.
Here's how to do it right:
- Gently rinse the scallops under cold water and pat them dry with paper towels.
- Arrange them in a single layer on a plate lined with several layers of fresh paper towels.
- Cover them with another layer of paper towels and gently press down.
- Allow them to air dry in the refrigerator for at least 10-15 minutes per side. For best results, you can even do this for 30 minutes to an hour. The drier they are, the better they will sear.
The Muscle Myth (and Reality)
Most scallops, especially larger sea scallops, have a small, tough adductor muscle on one side. This crescent-shaped muscle is slightly tougher than the rest of the scallop and can detract from the overall tender texture. It's easy to spot: just look for a small, sinewy piece attached to the side. Simply pinch it between your fingers and pull it off. It detaches easily and can be discarded.
Essential Tools and Ingredients for a Flawless Sear
Choosing Your Weapon: The Right Pan
While you might be tempted to reach for your non-stick skillet, resist the urge for pan-seared scallops! Achieving a deep, even golden crust requires a pan that can get incredibly hot and maintain that heat. Your best options are:
- Stainless Steel: A heavy-bottomed stainless steel skillet is an excellent choice. It heats quickly, distributes heat evenly, and responds well to temperature changes. Its surface also promotes superior browning and the development of a flavorful fond (the browned bits at the bottom of the pan).
- Cast Iron: For unparalleled heat retention and a truly robust sear, cast iron is hard to beat. It takes longer to heat up, but once it's hot, it stays hot, creating a magnificent crust. Just ensure it's well-seasoned to prevent sticking.
Can you use non-stick? While technically possible, you'll be hard-pressed to achieve the deep, crispy golden crust that makes pan-seared scallops so special. Non-stick coatings limit the Maillard reaction, resulting in a less flavorful and less visually appealing scallop.
Oil Play: High Heat, High Reward
When it comes to the fat for searing, you need an oil with a high smoke point. This allows the pan to reach the high temperatures necessary for searing without the oil burning and imparting a bitter taste.
- Ideal Choices: Grapeseed oil, sunflower oil, canola oil, vegetable oil, or avocado oil are all excellent options. These neutral oils won't interfere with the delicate flavor of the scallops.
- When to add Butter: While olive oil can work, its smoke point is lower than ideal for the initial high-heat sear. Butter, with its even lower smoke point, should be added towards the end of the cooking process. It imparts incredible flavor and helps create a rich, buttery pan sauce.
Seasoning Simply
Scallops have a naturally sweet, delicate flavor. They don't need much to shine. Generous seasoning with kosher salt and freshly ground black pepper just before cooking is usually all that's required. The salt helps draw out any remaining surface moisture and enhances flavor, contributing to that perfect crust.
The Art of the Sear: Step-by-Step Perfection
Preheating is Paramount
This is where many home cooks falter. Your pan needs to be screaming hot before the scallops even get near it. Place your chosen pan (stainless steel or cast iron) over high heat and let it preheat for several minutes, until it's just starting to smoke very lightly. This ensures an immediate, even sear when the scallops hit the surface.
The Searing Dance
- Add Oil: Once the pan is hot, add just enough high-smoke-point oil to lightly coat the bottom – typically 1-2 tablespoons. Swirl to coat and let it heat for another 30 seconds until it shimmers.
- Place Scallops: Carefully place your thoroughly dried, generously salted, and peppered scallops into the hot pan in a single layer. Crucially, do not overcrowd the pan. If you put too many scallops in at once, the pan's temperature will drop, and they will steam instead of sear. Cook in batches if necessary. Leave at least an inch of space between each scallop.
- Initial Sear (The Golden Crust Stage): Let the scallops sear undisturbed for 1.5 to 2 minutes. For larger scallops (around 1.5 to 2 inches wide), this might extend to 2.5 to 3 minutes. Resist the urge to peek or move them! This undisturbed time allows the beautiful golden crust to form. You'll know they're ready to flip when they release easily from the pan with a spatula. If they stick, they're not ready.
- Flip and Finish: Once a deep golden crust has formed on the first side, flip each scallop. Immediately add 1-2 tablespoons of unsalted butter to the pan, along with any fresh aromatics like a sprig of thyme, rosemary, or a smashed garlic clove. The butter will melt and bubble.
- Baste and Baste Again: Tilt the pan slightly and use a spoon to continuously baste the melted, herb-infused butter over the scallops for another 1 to 2 minutes. This infuses them with rich flavor and helps them cook through gently. The second side requires less time as the goal is to finish cooking and bathe them in butter, not to create another deep crust.
- Check for Doneness: Scallops cook quickly! They should be opaque throughout, firm but still tender, with a slight translucency remaining in the very center if you prefer them medium-rare. Overcooked scallops become rubbery.
- Serve Immediately: Transfer your perfectly pan-seared scallops to a plate as soon as they're done. They are best enjoyed hot off the pan.
Elevate Your Dish: Simple Sauces and Pairings
Quick Pan Sauce Ideas
The beauty of pan-seared scallops lies in their simplicity, but a quick pan sauce can take them to the next level. After removing the scallops from the pan, you'll have flavorful browned bits (fond) remaining. You can quickly whip up a sauce:
- Lemon Garlic Butter Sauce: Add a splash of white wine or chicken broth to deglaze the pan, scraping up the fond. Add a squeeze of fresh lemon juice and a tablespoon of butter, whisking until emulsified. Finish with fresh chopped parsley or chives.
- Herb & Shallot Reduction: Sauté minced shallots in the residual butter, then deglaze with white wine. Reduce slightly, then swirl in a knob of butter and fresh herbs like tarragon or chervil.
Serving Suggestions
Pan-seared scallops are incredibly versatile. They shine as an appetizer or a main course. Consider pairing them with:
- A light lemon-dressed arugula salad.
- Creamy risotto (lemon, asparagus, or mushroom).
- Angel hair pasta tossed in olive oil, garlic, and red pepper flakes.
- Creamy purées like cauliflower or parsnip.
- Simple steamed asparagus or green beans.
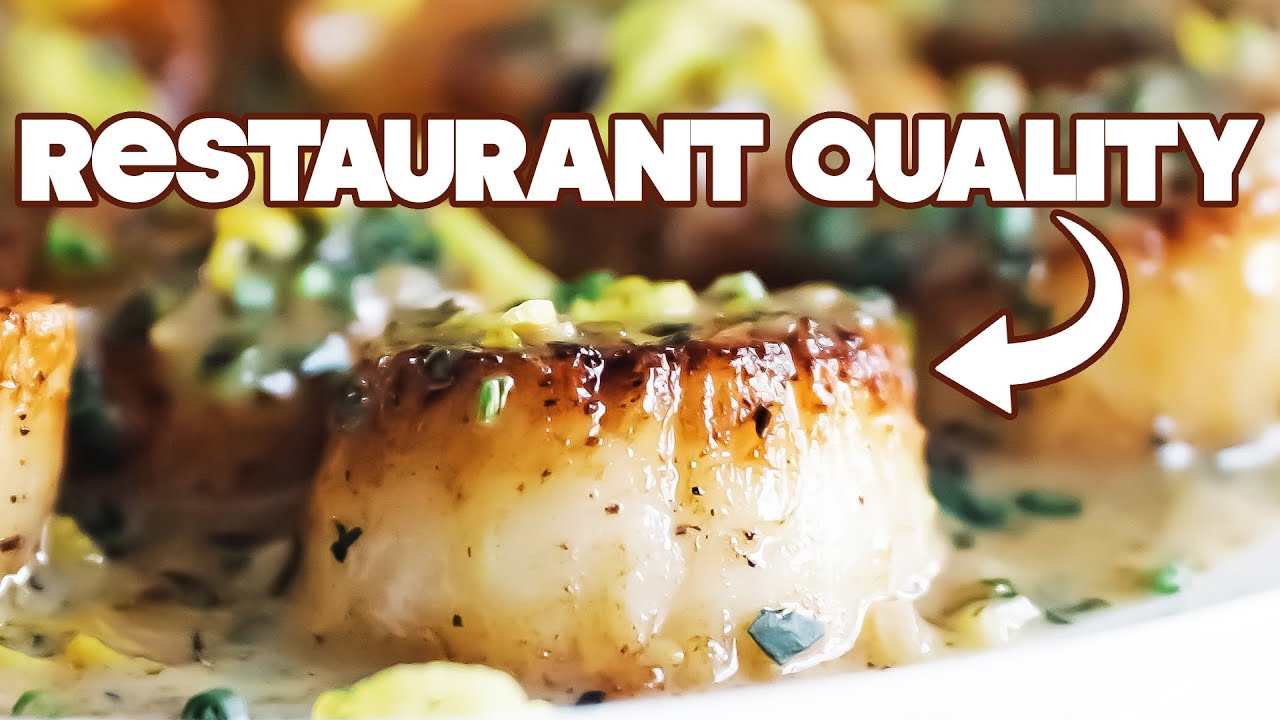
Mastering pan-seared scallops is a culinary triumph that will elevate your home cooking. By focusing on selecting dry-packed scallops, ensuring they are impeccably dry, using the right pan and oil, and trusting the high-heat searing process, you'll consistently achieve that coveted golden crust and tender interior. With practice, these exquisite shellfish will become a go-to in your repertoire, proving that restaurant-quality dining is truly within reach in your own kitchen.
