There are few culinary delights as satisfying as perfectly pan seared scallops. With their sweet, tender interior encased in a crisp, golden-brown crust, they offer an unparalleled texture and flavor profile. Often perceived as a dish reserved for fine dining, mastering the art of searing scallops at home is surprisingly straightforward, transforming a simple ingredient into an elegant meal. Whether you’re aiming to impress guests or simply treat yourself to a gourmet experience, understanding the key techniques will ensure a flawless result every time.
From quick weeknight dinners to celebratory feasts, scallops are remarkably versatile. The secret to achieving that coveted restaurant-quality sear lies in a few critical steps – steps that turn an ordinary scallop into an extraordinary one. Let's dive into the essential tips that will elevate your pan seared scallops from good to unforgettable.
The Foundation of Flawless Pan-Seared Scallops
The journey to perfect scallops begins long before they hit the hot pan. The choices you make in the grocery store and your initial preparation steps are paramount to achieving that desirable golden crust and succulent texture.
Choosing the Right Scallops: Dry vs. Wet
This is arguably the most crucial decision. Always opt for dry-packed sea scallops. These scallops are natural, meaning they haven't been treated with phosphates or injected with water. Wet-packed scallops, on the other hand, are often chemically treated to appear plumper and retain excess moisture. This added water makes it nearly impossible to achieve a proper sear, as the moisture will steam the scallops instead of allowing them to caramelize and form that beautiful crust. While they might seem like a bargain, wet-packed scallops will consistently disappoint.
Dry-packed scallops might be slightly more expensive, but the difference in quality and searing capability is immense. They are worth every extra penny for their superior flavor and ability to develop a truly exceptional crust.
Pre-Searing Preparation: The Golden Rules
- Remove the Side Muscle: Many fresh scallops come with a small, crescent-shaped side muscle attached. This muscle is tougher and chewier than the rest of the scallop. It’s easy to spot and remove – simply pinch it between your fingers and pull it off. Discard it before proceeding.
- Thoroughly Dry Your Scallops: This step cannot be overstated. Moisture is the enemy of a good sear. Even dry-packed scallops will have some surface moisture. To ensure a crispy crust, you must dry them meticulously.
- Arrange your scallops in a single layer on a plate lined with paper towels.
- Place another layer of paper towels on top and gently press down to absorb excess moisture.
- Let them sit like this for at least 10-15 minutes, or even longer if time allows, flipping them once to ensure both sides are thoroughly dry. This crucial process facilitates the Maillard reaction, the chemical process responsible for the rich brown color and savory flavor of seared foods. If you're looking for even more in-depth guidance, check out our guide on how to Achieve Perfect Pan-Seared Scallops: Golden Crust Every Time.
- Season Simply: Once dried, season your scallops generously with salt and freshly ground black pepper just before cooking. The salt not only enhances flavor but also helps to draw out any remaining surface moisture, further aiding in the searing process.
The Art of the Sear: Technique and Timing
With your scallops prepped, the next stage involves precise cooking to unlock their full potential. This is where a hot pan and strategic timing come into play.
The Right Pan and Oil
For the best sear, you need a pan that retains heat well and distributes it evenly.
- Stainless steel or cast iron skillets are your top contenders. Stainless steel heats quickly and responds well to temperature changes, while cast iron offers unparalleled heat retention, leading to a fantastic crust.
- While a nonstick skillet can be used, it typically won't achieve the deep, rich sear and crust that stainless steel or cast iron can. If you're serious about your sear, avoid nonstick for scallops.
Achieving Optimal Pan Temperature
Heat is key. Place your chosen pan over high heat and let it preheat for several minutes until it's screaming hot. You should see a faint wisp of smoke or feel intense heat radiating when you hold your hand a few inches above the surface. Add just enough neutral oil to lightly coat the bottom of the pan – about 1-2 tablespoons for a medium-sized skillet.
The Searing Process: A Step-by-Step Guide
- Add Scallops to a Hot Pan: Carefully place the well-dried, seasoned scallops into the hot pan, ensuring they are in a single layer and not overcrowded. Overcrowding will lower the pan's temperature and cause the scallops to steam rather than sear. Work in batches if necessary.
- Sear Undisturbed for the First Side: This is crucial. Let the scallops sear for 1-2 minutes without touching them. For larger scallops (around 1.5-2 inches wide), this might extend to 2-3 minutes. Resist the urge to peek or move them! This undisturbed time allows the crust to properly form. You'll know they're ready to flip when they release easily from the pan with no sticking, and a deep golden-brown crust has formed.
- Flip and Finish: Once a beautiful crust has developed on the first side, carefully flip each scallop. Immediately add a few pats of unsalted butter to the pan, along with any fresh aromatics like thyme, rosemary, or tarragon. The butter will melt and foam, contributing richness and a nutty flavor.
- Baste and Cook Briefly: Using a spoon, begin to baste the melting butter over the flipped scallops. Continue cooking for another 1-2 minutes, depending on their size. The goal is to sear them longer on the first side to build the crust, then finish quickly on the second to cook the interior until just opaque. Overcooked scallops become rubbery, losing their delicate texture.
The internal temperature should reach 125-130°F (52-54°C) for medium-rare, though visual cues like opacity and the easy release from the pan are often sufficient indicators for home cooks. Remember that carryover cooking will continue for a moment or two after they're removed from the heat.
Elevating Your Pan-Seared Scallops
While perfectly seared scallops are a delight on their own, a simple accompaniment can take them to the next level.
Quick Pan Sauces and Flavor Enhancements
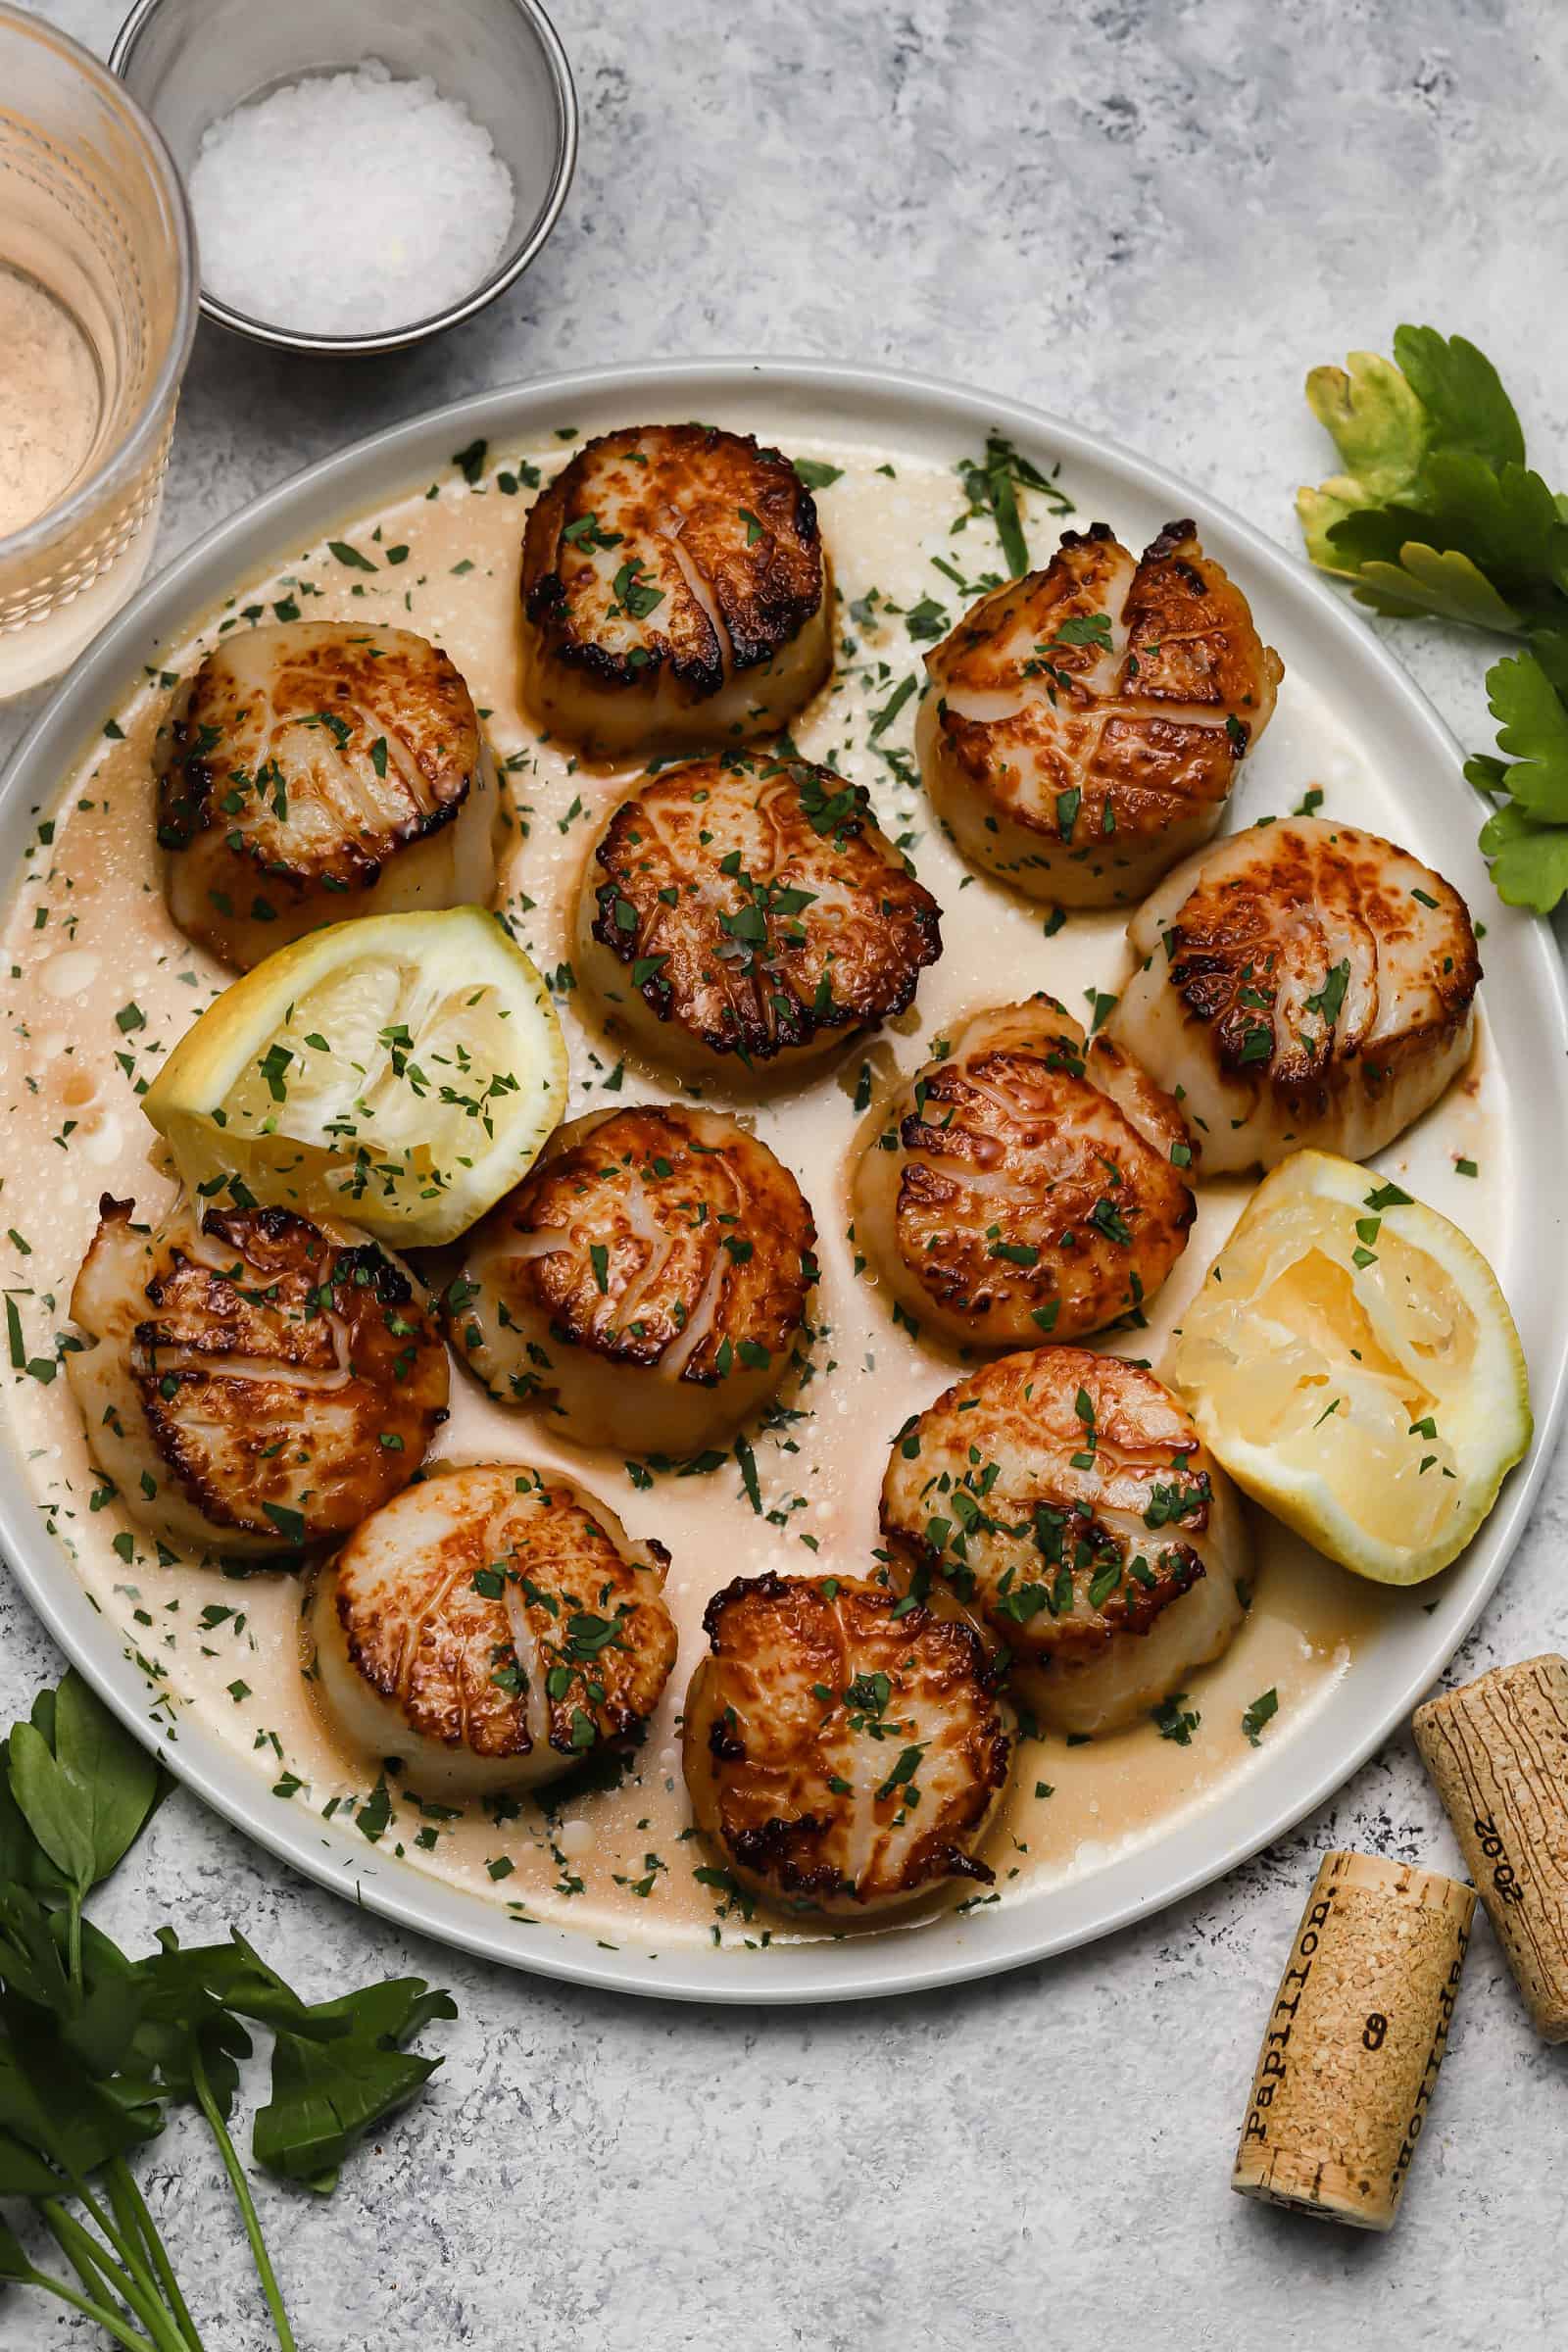
The buttery pan drippings that remain after searing are a treasure trove of flavor. Don't let them go to waste! A quick pan sauce can be made by deglazing the pan with a splash of white wine or chicken broth, then stirring in a squeeze of fresh lemon juice and a pat of butter. For an extra layer of flavor, consider a simple lemon-garlic butter sauce, perhaps with a sprinkle of fresh parsley or chives.
Many chefs, including Gordon Ramsay, highlight the elegance of pairing Gordon Ramsay's Pan-Seared Scallops: Crispy & Buttery with a light citrus sauce, creamy purée, or fresh greens. The simplicity allows the scallop's natural sweetness to shine.
Common Mistakes to Avoid
- Overcrowding the Pan: As mentioned, this drops the pan temperature and prevents a good sear. Always cook in batches if necessary.
- Flipping Too Early: Patience is a virtue here. Let that crust develop fully before flipping.
- Overcooking: Scallops cook very quickly. Their delicate protein structure can turn rubbery in seconds if left on the heat for too long.
- Not Drying Thoroughly: The absolute cardinal sin. Wet scallops will steam, not sear.
Mastering pan seared scallops is a skill that will serve you well, offering a taste of gourmet dining right in your own kitchen. By focusing on proper selection, meticulous preparation, and precise cooking techniques, you can achieve that coveted golden crust and tender interior every single time. Enjoy the process, and savor the delicious results!
